Navel Piercing in Savannah: Healing Timeline, Jewelry Choices, and Common Mistakes
You want a belly button piercing that sits right and heals well—but this is one of the easiest piercings to irritate with clothing and movement. Between high-waisted jeans, sweaty Savannah summers, and the constant bend-and-twist of everyday life, a navel piercing can go from “cute new sparkle” to “why is this angry?” pretty fast if the placement or jewelry isn’t right.
Thinking about a navel piercing in Savannah?
Questions before you come in for a walk-in?
Call Us Now at 912-352-9926 or visit the link below.
1) Anatomy & placement: “true navel” vs. surface anatomy (and why it matters)
When people say “belly button piercing,” they usually mean a true navel piercing —jewelry that sits through the navel rim (the defined lip at the top or bottom of your belly button), not through flatter skin above the navel.
True navel piercing
A true navel has:
- A clear ridge/lip the needle can safely pass through
- Enough depth for the jewelry to sit without pulling
- A shape that allows the piercing to stay protected when you sit, bend, or wear normal clothes
This is what most people picture: the top ball sits above the navel, and the bottom gem sits inside the navel.
“Surface anatomy” that looks like a navel piercing (but behaves like a surface piercing)
If you don’t have enough navel rim, or if the tissue above the navel is more flat than “lipped,” trying to force the classic look can create a surface-style placement . Surface-style placements are much more prone to:
- Migration (the jewelry slowly shifts position)
- Rejection (your body pushes the jewelry out toward the surface)
- Chronic irritation bumps and thinning tissue
That’s why a real anatomy check matters. A good piercer isn’t trying to talk you out of it—they’re trying to set you up for a piercing that still looks great months from now.
How placement affects healing (and your long-term results)
Placement is everything with navels because the area:
- Folds when you sit
- Gets rubbed by waistbands
- Traps sweat and moisture
- Moves constantly
If the jewelry is placed too shallow, you’ll see more redness, prolonged soreness, and the piercing may start to “creep” forward. If it’s placed incorrectly to chase a certain look, you can end up with visible scarring even if you remove it later.
What to expect during a walk-in navel piercing in Savannah
When you come in for a walk-in, the process should feel calm, clean, and straightforward:
- Consultation & anatomy assessment
You’ll stand/sit normally and also shift posture a bit (because navels change shape when you sit). Your piercer checks how the tissue behaves with movement and compression. - Jewelry discussion
You’ll pick jewelry that’s appropriate for healing (not just what looks cutest on day one). - Marking & symmetry check
The piercer marks placement and has you look in the mirror. You should feel comfortable asking for a second look or adjustment before anything happens. - Sterile setup & piercing
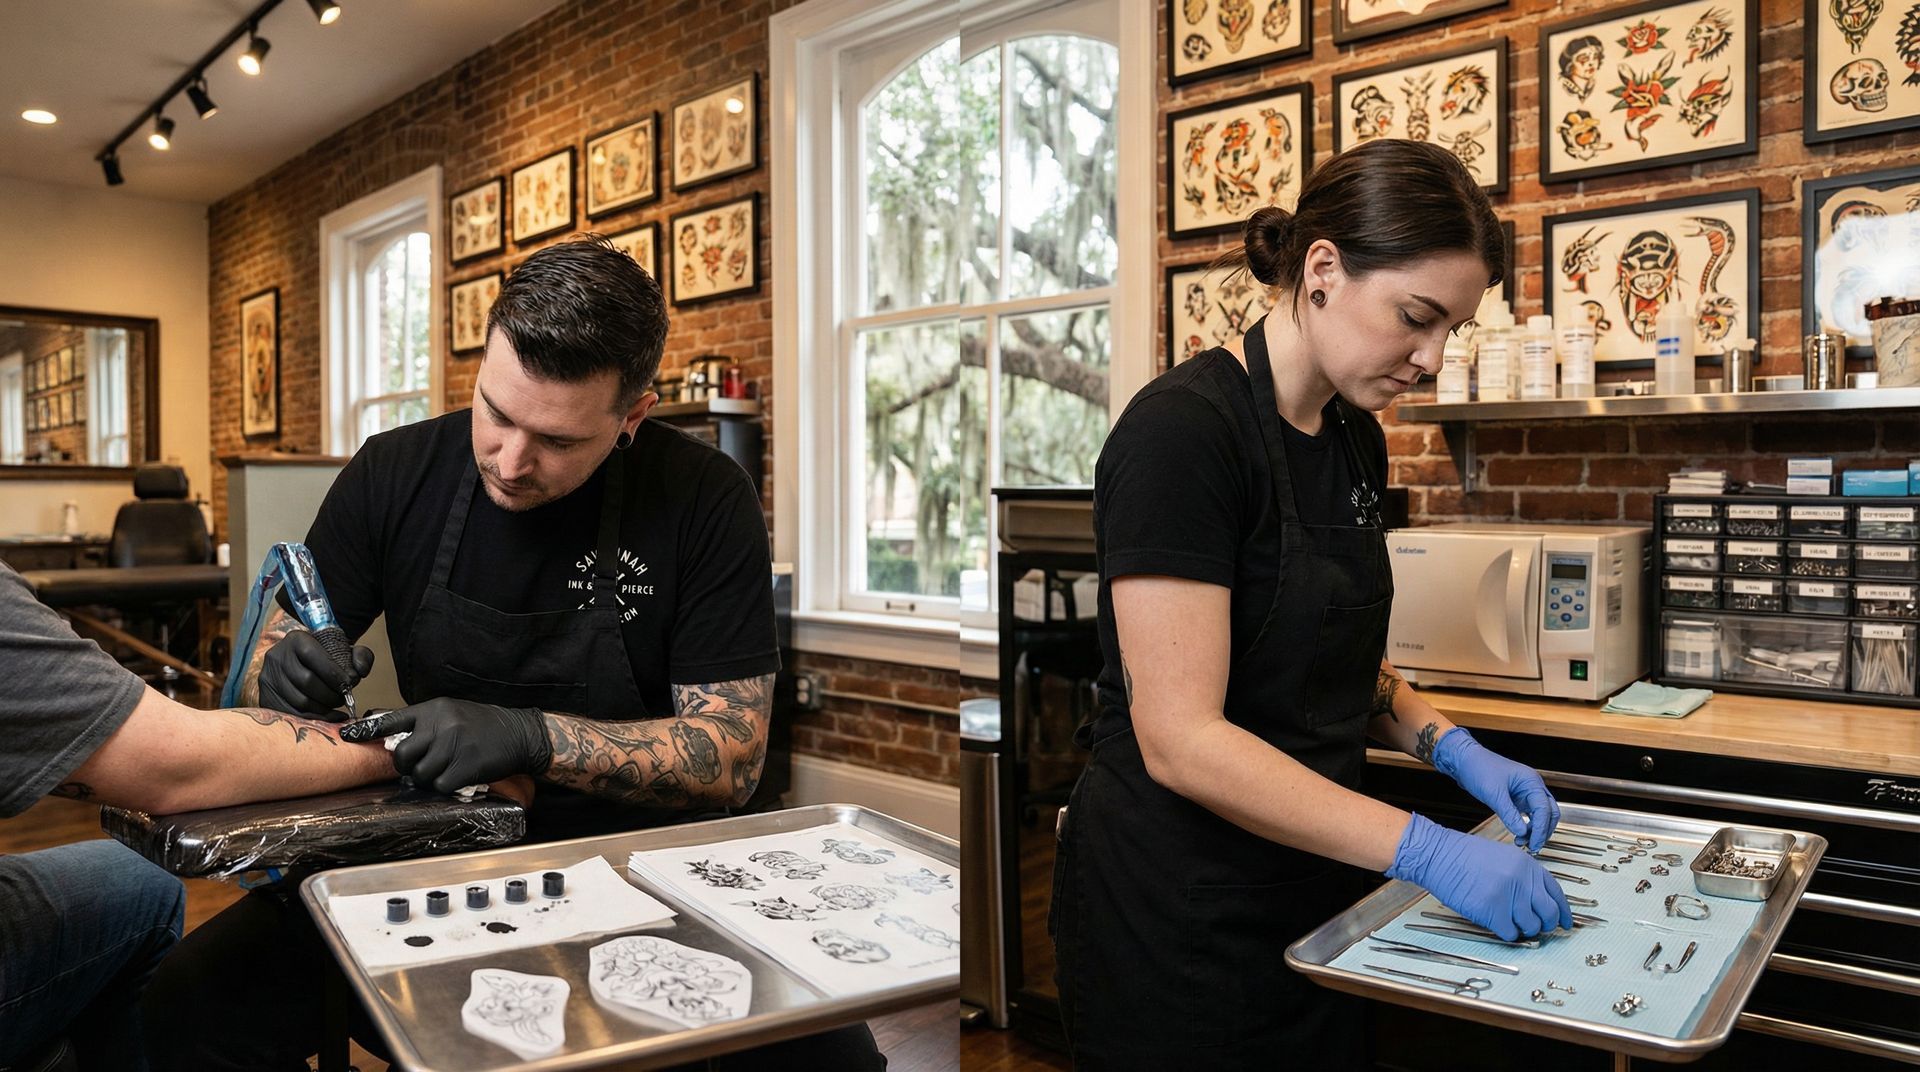
Expect sterile tools, gloves, and a clean procedure. The piercing itself is quick—usually a moment of pressure and a sharp pinch.
If you want to read more about what’s available and how walk-ins work, start here:
body piercing info and walk-in details
Want a placement + jewelry check before you commit?
Get quick answers before your walk-in
Call 912-352-9926 or click through to see options.
2) Jewelry choices that actually heal: curved barbells, material quality, and downsizing
Navel piercings are picky about jewelry. The wrong style or size is one of the biggest reasons people struggle—especially when they swap to “fashion jewelry” too early.
Best starter style: curved barbell
For most navels, the go-to is a curved barbell (sometimes called a banana bar). Why it works:
- It follows the natural curve of the tissue
- It reduces pressure at the entry/exit points
- It’s stable during movement compared to rings or dangly pieces
Rings and heavy dangles can increase movement and leverage—two things healing tissue absolutely hates.
Material quality: what “safe” actually means
Your healing piercing is basically an open wound that’s trying to seal around the jewelry. Low-quality metals can cause irritation that looks like an “infection,” even when it isn’t.
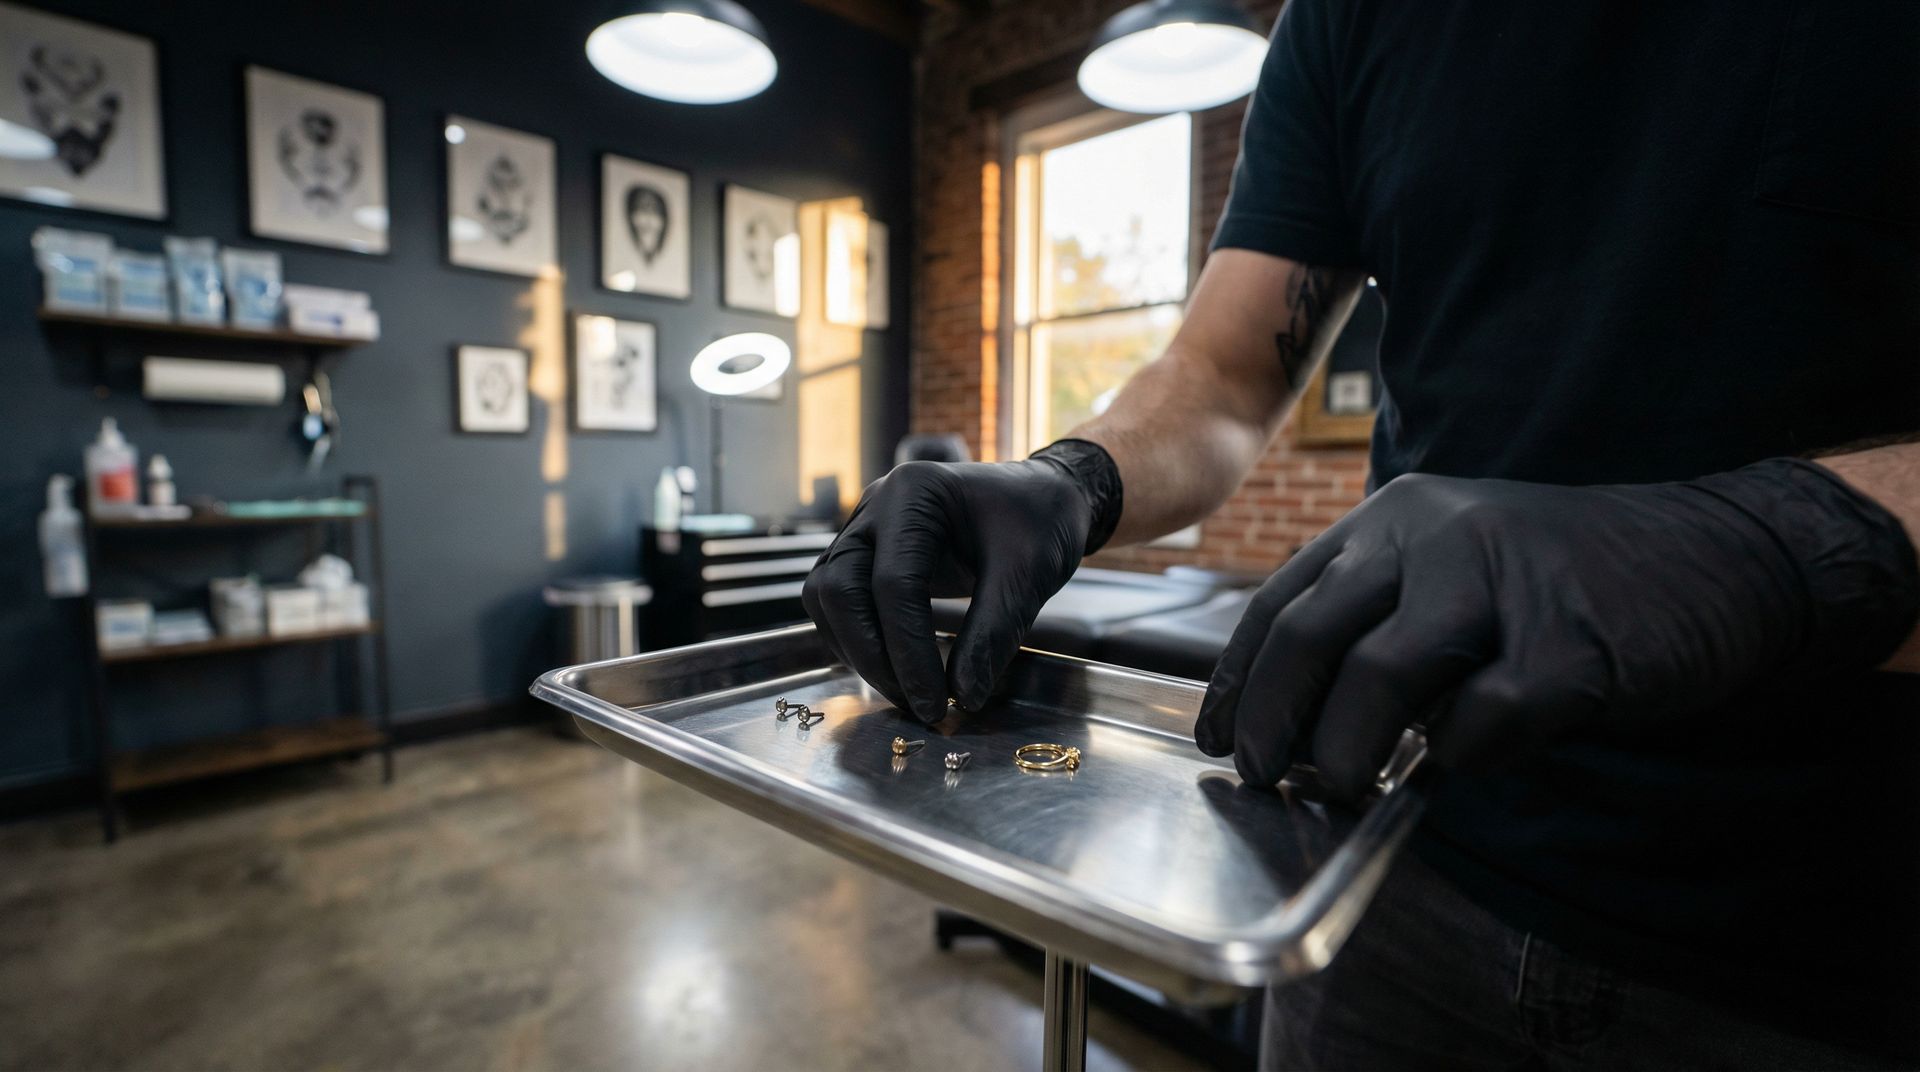
For a fresh navel piercing, stick with implant-grade surgical steel (and other truly body-safe options your piercer recommends). The goal is to avoid mystery alloys and coatings that can flake or react with sweat.
Initial length: why longer is normal at first
A fresh navel piercing almost always needs a bit of extra bar length to allow for:
- Initial swelling
- Normal day-to-day movement
- Minor irritation without embedding
If the bar is too short on day one, swelling can make the ends press into the skin—this can lead to painful pressure, redness, and sometimes embedding.
Downsizing: the step people skip (and regret)
Downsizing means switching to a shorter bar after the initial swelling phase so the jewelry sits properly. This helps:
- Reduce snagging on clothes and towels
- Prevent the bar from shifting and irritating the channel
- Improve how it lays (and how it looks)
Skipping downsizing is a common reason for lingering irritation bumps. A bar that’s too long can bounce around for months, keeping the piercing “almost healed” but never fully settled.
Save the dangly or heavy navel jewelry for later. Early on, extra weight + extra movement = extra irritation. Let the piercing stabilize first, then upgrade your look once you’ve hit solid healing milestones.
Why fashion jewelry too soon causes problems
Even if it looks fine for a few days, fashion jewelry can trigger issues like:
- Random redness that comes and goes
- Itchy, irritated tissue
- Persistent bumps
- Slower healing overall
A navel piercing doesn’t reward impatience. If you want it to look good long-term, start with quality jewelry and treat upgrades like a planned step—not a quick swap.
Curious about the studio and the people doing the work (because experience matters)?
meet our artists and studio team
3) Aftercare & lifestyle in Savannah: cleaning routine, clothing, workouts, swimming, and troubleshooting
Navel aftercare is simple, but it requires consistency—and a little strategy for real life.
Your basic cleaning routine (keep it boring)
A solid routine usually looks like:
- Clean with sterile saline as directed by your piercer
- Rinse in the shower to remove sweat and soap residue
- Pat dry with clean, disposable material (not a shared towel)
Try not to overdo it. Over-cleaning can dry out the skin and keep the piercing irritated.
Avoid:
- Alcohol or peroxide (too harsh for healing tissue)
- Ointments that trap moisture
- Rotating or “spinning” jewelry (adds trauma and introduces bacteria)
Clothing: the #1 irritation trigger for navels
If you love high-waisted jeans, leggings, or shapewear—this is where you need to be careful. Pressure + friction can cause:
- Swelling that lasts longer
- Redness that flares up after you sit all day
- Irritation bumps from repeated rubbing
What helps:
- Mid-rise or low-rise options early on
- Softer waistbands
- Avoiding tight compression right over the piercing
- Being mindful of belts, uniform waistbands, and stiff denim seams
Sleeping tips (yes, it matters)
Stomach sleeping can put pressure on a fresh navel piercing and cause:
- Soreness in the morning
- Swelling flare-ups
- Extra irritation from heat + pressure
If you’re a stomach sleeper, try:
- Side sleeping
- A pillow under your hips to reduce pressure
- Loose sleepwear that won’t snag
Working out: how to stay active without wrecking your piercing
You don’t have to stop moving—but you do want to reduce friction and trauma.
Be cautious with:
- Core-heavy workouts (planks, crunches, Pilates)
- Any movement where the waistband slides repeatedly over the piercing
- Contact sports where impact is possible
Helpful adjustments:
- Choose lower-waist workout gear early on
- Keep the area clean and dry after sweating
- Avoid snag-prone tops or textured waistbands
Swimming timing (Savannah reality: pools, Tybee, and weekends on the water)
Savannah makes it really tempting to hop in the pool, hit Tybee, or end up on a friend’s boat. The problem is that soaking a healing piercing increases exposure to bacteria and irritants.
In general, it’s best to avoid swimming until you’re far enough along in healing that your piercer is comfortable with it. If you swim too early, you can end up with:
- Prolonged inflammation
- Irritation bumps that won’t calm down
- A setback that turns “weeks” into “months”
If you have a trip or beach plans coming up, plan your piercing date around it instead of trying to force it.
Healing timeline: what “normal” usually looks like
Navels are not fast healers. The timeline depends on your anatomy, lifestyle, and how often it gets bumped.
Common milestones:
- First couple weeks: tenderness, swelling, mild redness, clear to pale discharge that crusts (normal)
- Weeks to months: it starts to feel more “settled,” but can still flare up from pressure or friction
- Longer-term: the channel strengthens and irritation becomes less frequent (as long as placement and jewelry are right)
A navel piercing can look good early but still be healing underneath. Treat it gently even after it “seems fine.”
Irritation bump vs. infection: how to tell the difference
People often assume “bump = infection,” but bumps are commonly caused by irritation.
More consistent with irritation:
- A raised bump near one end
- Redness that comes and goes
- Tenderness after clothing friction or snagging
- Clear/whitish fluid that crusts
More concerning signs:
- Hot, spreading redness
- Thick yellow/green discharge with strong odor
- Increasing pain that doesn’t improve
- Fever or feeling unwell
When in doubt, get it checked in person. Early advice can prevent a minor irritation from turning into a major setback.
If you want a full overview of services and what to expect in the studio, this is a good starting point:
tattoos and piercings in Savannah
Want help choosing the right jewelry and a realistic healing plan for your lifestyle? Call Us Now at 912-352-9926 before your walk-in: https://www.resurrectionink.com/tattoos
Common mistakes that derail navel piercings (so you can avoid them)
Here are the pitfalls we see most often with navels:
- Forcing a “standard” placement on non-standard anatomy
This is where migration/rejection risk skyrockets. - Starting with low-quality jewelry
Your body notices, even if you don’t immediately. - Skipping downsizing
Long bars move more, snag more, and irritate more. - Wearing high-waisted compression early on
Friction and pressure are constant inflammation triggers. - Changing jewelry too soon
Even if it “doesn’t hurt,” the channel may not be ready. - Over-cleaning or using harsh products
Healing tissue likes clean, not stripped and angry.
If you’re thinking about a gift for someone who wants to get pierced (or you want to plan your own visit), you can also check out:
gift cards and merchandise
The goal: a navel piercing that sits right, feels comfortable, and heals clean
A great navel piercing isn’t just about the sparkle—it’s about smart placement , quality jewelry , and aftercare that fits your real life (including Savannah heat, humidity, and clothing choices). If you do those three things well, you’re setting yourself up for a piercing that looks good now and still looks good later.
Thinking about a navel piercing in Savannah?
Call before your walk-in
Call Us Now at 912-352-9926 with questions, or click to get started.