Your new piercing looks great, until it starts swelling, crusting, or forming a stubborn bump that won't go away. That's the moment most customers realize piercing aftercare isn't just "keep it clean." It's about using the right routine, avoiding a few common mistakes, and knowing what's normal healing vs. a real problem.
Not sure if your piercing is healing correctly?
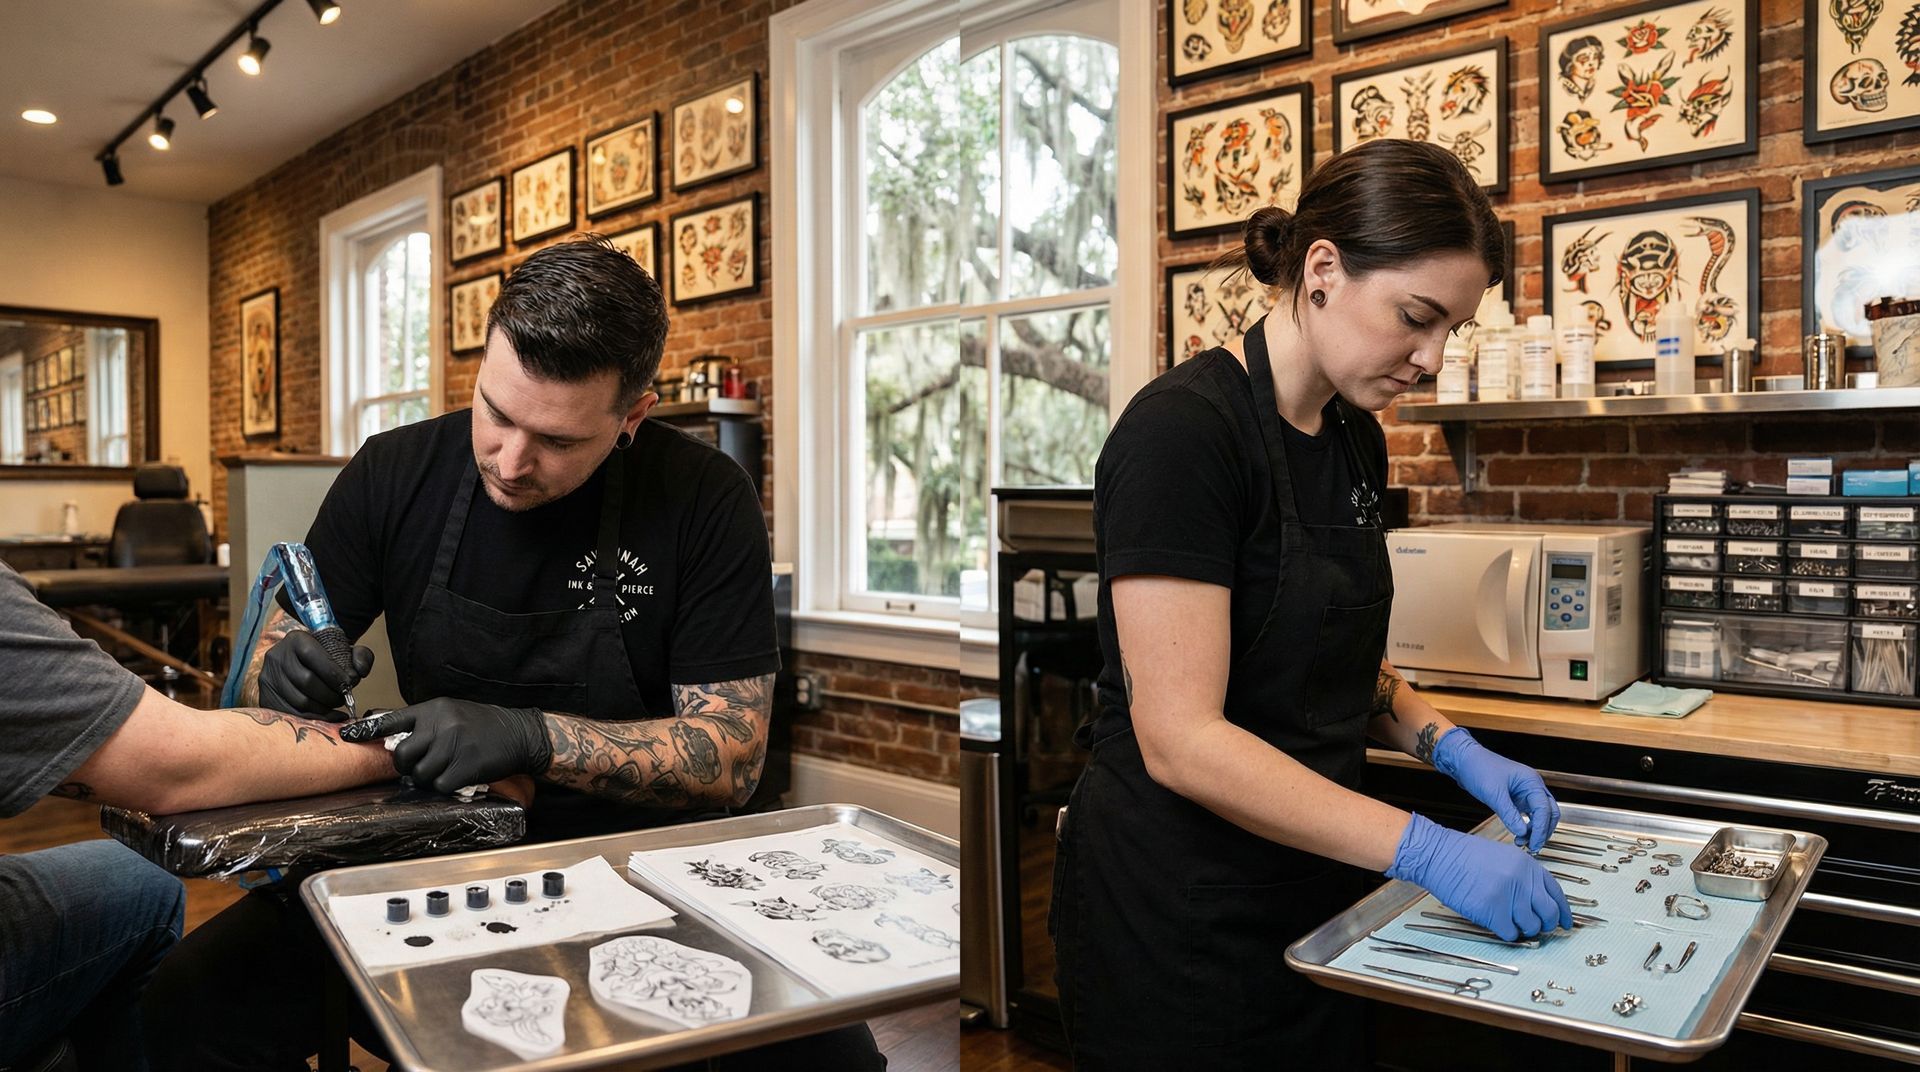
Fast help from a pro piercer is just a call away.
In Savannah, piercings can get irritated fast, humidity, sweat, hair products, beach days, and even sleeping with the wrong pillow pressure can add up. Below is a simple, piercer-approved routine you can actually stick with, plus a healing-time chart and a troubleshooting guide for irritation bumps.
If you want to browse piercing options (or check what you can do as a walk-in), start here: Body Piercing in Savannah
Your step-by-step cleaning routine (and why it works)
A solid aftercare routine has two goals: Reduce bacteria exposure , and avoid over-cleaning (which can inflame tissue and stall healing). Here's the routine most professional piercers recommend because it's effective and gentle.
Step 1: Wash your hands first, every time
Before you touch your jewelry or the area around it:
- Use soap and warm water
- Scrub fingertips and nails
- Rinse well and dry
Why it matters: most piercing setbacks aren't from "dirty air", they're from hands, makeup brushes, hair tools, partners' hands, phones, and pillowcases.
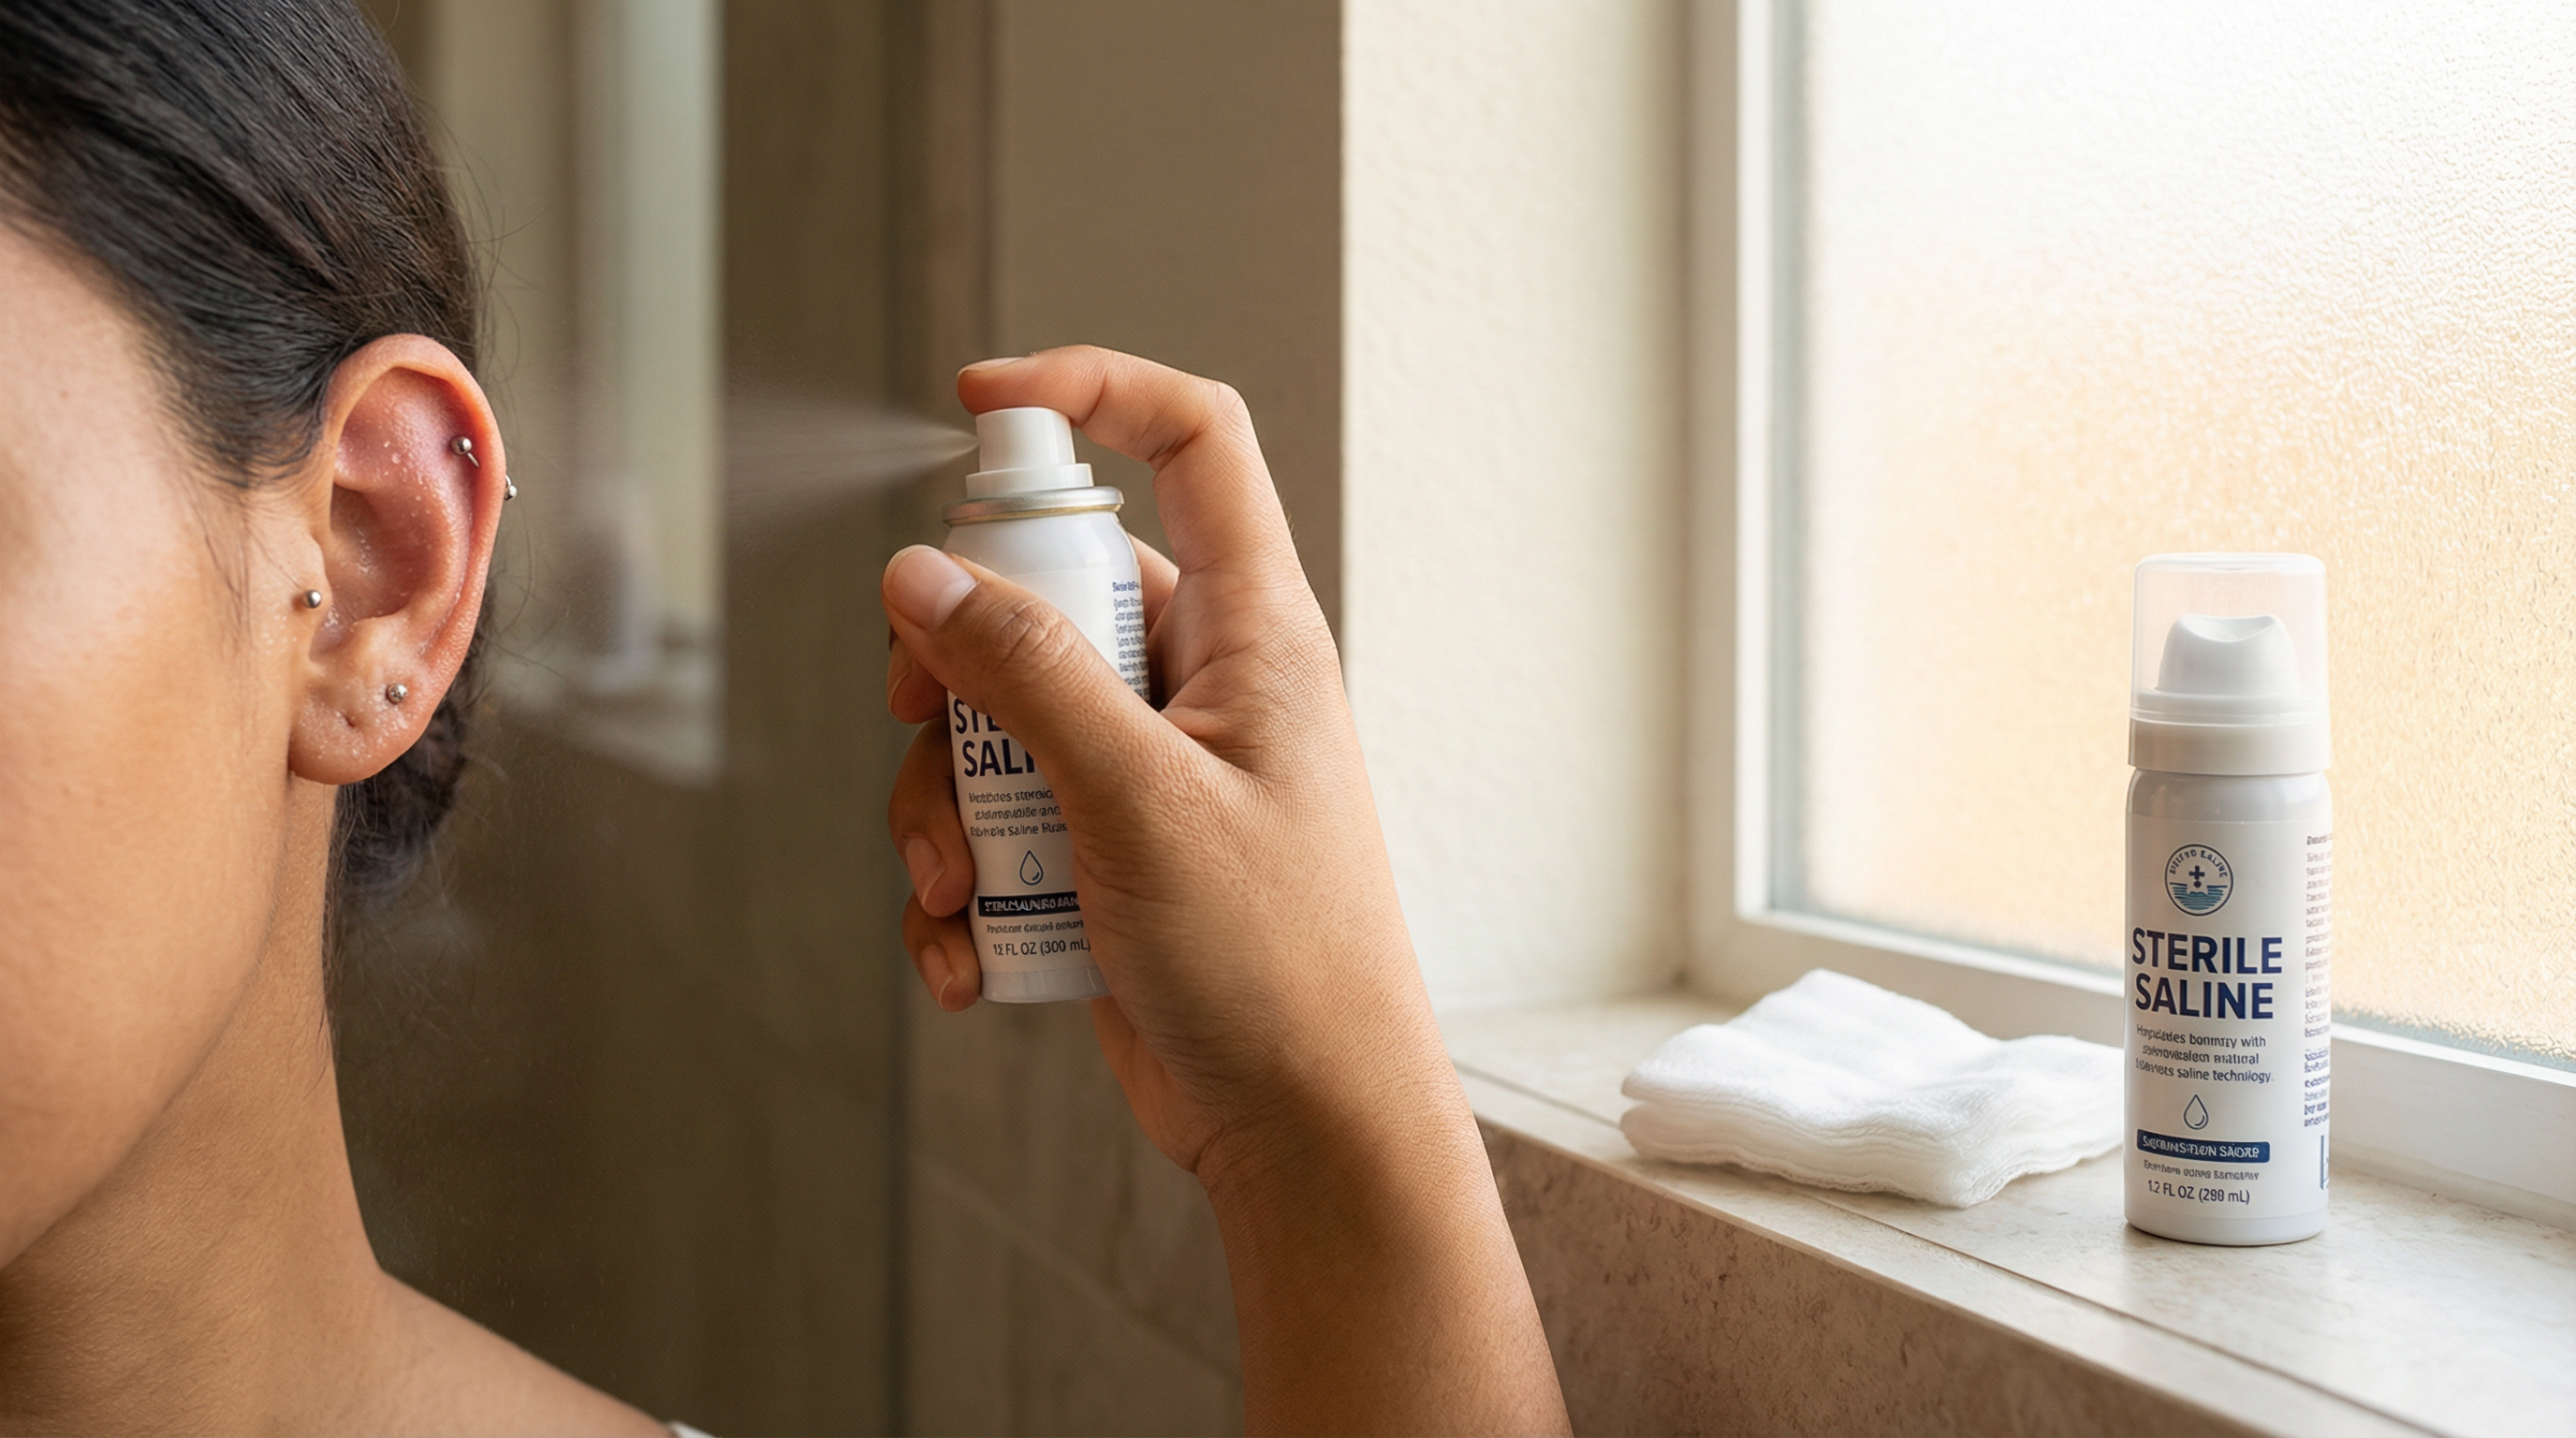
Step 2: Saline cleanse 1–2 times per day (not 6)
Use sterile saline wound wash (0.9% sodium chloride). Look for a can that says sterile and doesn't include additives.
How to do it:
- Spray saline on the piercing entry/exit points
- Let it soak/soften crusties for 30–60 seconds
- Gently wipe away loosened debris with clean gauze or a paper towel (avoid cotton balls/q-tips that shed fibers)
Frequency:
- 2x/day for the first few weeks
- Drop to 1x/day if you're getting dryness, redness, or feeling "raw"
- If your piercing feels calm and clean, more cleaning is not better.
Step 3: Rinse in the shower (your secret weapon)
Once a day in the shower:
- Let warm water run over the area
- Don't blast it on high pressure, just a gentle rinse
- Avoid fragranced body wash directly on the piercing
Shower rinses help flush away sweat, shampoo, and daily grime without you overhandling the jewelry.
Step 4: Dry correctly (this prevents bumps)
After saline or shower:
- Pat dry with a clean paper towel (not your bath towel)
- Or use cool air from a hair dryer on low, held at a distance
Why: moisture trapped around a healing piercing can cause irritation, especially in Savannah's humidity and especially for nostrils, navels, and ear cartilage folds.
Step 5: Don't twist, spin, or "move it to prevent sticking"
That old advice causes micro-tears. Healing tissue is trying to seal and stabilize the fistula (the healing channel). Spinning jewelry can:
- Reopen the wound
- Bring bacteria into the channel
- Trigger bumps and prolonged redness
Why alcohol, peroxide, and ointments usually backfire
These are the big "I was trying to help" mistakes:
- Rubbing alcohol / peroxide: too harsh; damages healthy cells and prolongs inflammation. You may feel "clean," but you're slowing healing.
- Ointments (including antibiotic ointment): can block airflow, trap bacteria, and keep the area too moist (maceration). They can also cause contact dermatitis in some people.
- Tea tree oil / DIY soaks: often too strong and commonly causes chemical irritation, especially on bumps.
If you only change one thing
Stop over-cleaning. Most irritation bumps calm down faster when you switch to sterile saline 1–2x/day, rinse in the shower, and keep the area dry, without touching or spinning the jewelry.
Healing times by piercing type (and what "normal" looks like)
Healing isn't linear. Most piercings have a "good week / angry week" pattern, especially if you snag it, sleep on it, or switch products. Use the chart below as a realistic guide, your anatomy, jewelry type, and lifestyle matter.
| Piercing Type | Typical Healing Time | Normal Early Healing | Common "Not Normal" Warning Signs |
|---|---|---|---|
| Earlobe (standard) | 6–10 weeks | Mild swelling, clear/white fluid that dries into crust, tenderness if bumped | Thick yellow/green discharge, worsening pain after week 1–2, spreading heat/redness |
| Cartilage (helix, conch, etc.) | 6–12 months | Swelling that comes and goes, soreness with pressure, crusting | Severe pressure pain, jewelry embedding, persistent hot redness, growing bump that bleeds easily |
| Nostril | 3–6 months | Swelling days 1–7, occasional crust, tenderness with facial washing | Bump + constant wetness, jewelry sinking, pus-like discharge + heat |
| Septum (sweet spot) | 2–4 months | Mild soreness, "stiff" feeling, crusties | Pain that ramps up after week 2, strong odor plus heavy discharge, swelling that closes airflow |
| Navel | 6–12 months | Redness with movement, crusting, sensitivity with waistbands | Migration/rejection (bar becoming visible), persistent open sore, thinning tissue |
| Eyebrow | 3–6 months | Bruising, swelling first week, mild tenderness | Migration/rejection, constant redness along the bar, thinning skin |
| Oral (lip/labret) | 3–4 months | Big swelling first 3–5 days, then drops; nesting can occur | Teeth/gum trauma, jewelry embedding, swelling that worsens after day 5 |
| Tongue | 4–8 weeks | Significant swelling days 1–5; lisping; drooling | Difficulty breathing, swelling that increases rapidly, fever, severe pain |
Swelling phases (what you should expect)
Most piercings follow this pattern:
- Days 1–3: swelling ramps up (this is normal)
- Days 4–7: swelling peaks then starts to calm
- Weeks 2–6: "flare-ups" happen if you snag it, sleep on it, or over-clean
- Months 2+: healing looks calm, but the inside channel may still be maturing
When downsizing is needed
Many piercings are placed with a longer bar initially to allow swelling. Once swelling is down, staying in a too-long bar can cause extra movement, repeated friction, irritation bumps, and crooked angles.
Common downsizing windows:
- Lip/flat/helix/nostril studs: often around 2–8 weeks
- Some cartilage placements: sometimes later depending on swelling
- Oral piercings: often require an early downsize once swelling drops
If your jewelry feels like it's "flopping," catching on hair, or sitting at an odd angle, a downsize check can save you months of irritation. To see the kinds of piercings and jewelry options typically available, visit: Piercing services & info
Troubleshooting: bumps, irritation, and the most common causes
Irritation Bump
Usually caused by friction, pressure, moisture, or incorrect jewelry.
- A raised red/pink bump near the entry/exit
- Tenderness mostly when touched or snagged
- Crusting that comes and goes
- A "calm for days, angry for days" cycle
Possible Infection
Requires medical attention. Don't guess, guessing leads to mistakes.
- Worsening pain (not just tenderness)
- Heat, throbbing, and swelling that increases after the first week
- Thick yellow/green discharge (not just dried clear/white crust)
- Fever, body aches, or red streaking (urgent)
Cause #1: Jewelry length, style, or angle
A huge percentage of "my piercing won't heal" problems come down to jewelry fit. Too short, swelling has nowhere to go. Too long, movement causes bumps. Incorrect style, hoops too early can cause movement bumps. Angle problems, sleeping pressure can shift healing alignment. Material matters too. Quality options like implant-grade surgical steel reduce irritation. Meet the artists & see work
Cause #2: Sleeping pressure (the silent healer-killer)
Cartilage piercings and nostrils especially hate side-sleeping pressure. What helps: A travel pillow (sleep with your ear in the hole), switching sides, and fresh pillowcases 2–3 times per week early on. If your piercing is always angry in the morning, your pillow is probably part of the problem.
Cause #3: Hair, makeup, and product contamination
Watch out for hairspray, dry shampoo, edge control, gels, foundation/powder clogging around a nostril stud, skincare acids near facial piercings, and shampoo residue behind ears. Quick fix: rinse well in the shower and keep products off the piercing channel area.
Cause #4: Snagging and micro-trauma
Snags are more damaging than they feel. Common culprits: towels, loofahs, masks/glasses, hairbrushes, tight waistbands, and headphones. If you snagged it hard and it suddenly swells, gets hot, or starts weeping a lot, treat it like a fresh wound again for a few days: saline, gentle rinse, dry, and don't touch.
Cause #5: Over-cleaning (yep, again)
If your piercing looks overly dry, bright red, shiny/raw, or constantly "wet" with clear fluid... you may be irritating it with too much cleaning or too harsh a technique. Pull back to 1x/day saline, keep shower rinses gentle, and focus on drying.
When you should come in for a check (instead of experimenting)
It's smart to come in if you notice:
- Jewelry feels tight, skin looks like it's swallowing the ends (embedding)
- A bump that grows for more than 1–2 weeks
- Persistent swelling that never improves
- Jewelry constantly turning crooked
- You think you need a downsize but aren't sure what length you have
- Any sign of migration/rejection (especially eyebrow/navel)
If you want a piercer to take a look and talk through solutions, call 912-352-9926 — Call Us Now
When to seek medical care (don't wait on these)
Go to urgent care/ER or contact a medical professional if you have:
- Fever, chills, or feeling sick overall
- Rapidly increasing swelling (especially oral piercings affecting breathing/swallowing)
- Red streaking extending away from the piercing
- Severe, worsening pain that doesn't respond to normal care
- Thick green/yellow discharge with strong odor plus heat and expanding redness
- A hard, hot area that's spreading
- Signs of an allergic reaction (hives, facial swelling, trouble breathing)
Important note: Don't remove jewelry if you suspect infection unless a medical professional tells you to, removal can trap infection inside and make things worse. A piercer can often help you swap to a safer length/material while you get medical guidance.
A realistic "best practices" checklist for smooth healing
Clean with sterile saline 1–2x/day
Shower rinse once daily
Pat dry (paper towel) or cool blow-dry
Don't twist/spin the jewelry
Avoid peroxide, alcohol, ointments, and DIY oils
Keep hair/makeup/skincare off the area
Reduce pressure while sleeping
Come in for downsizing when swelling is gone
Treat snags like a mini-reset (gentle care, no touching)
And if you're browsing for your next piece (or thinking about pairing new ink with a new piercing), here are a couple useful pages:
Bottom line: calm, clean, dry, and don't overhandle it
Most irritation bumps aren't a mystery, they're friction + moisture + movement. A consistent saline routine, good drying habits, and properly fitted jewelry fix the majority of problems without harsh products or panic.
Not sure if what you're seeing is normal?
Call Resurrection Ink at 912-352-9926